There's the odd occasion that inside of a Netlify build (or maybe a lambda function) that I've wanted to execute a custom binary. Most recently for me, a C based program called goaccess. This is my "easy" method for compiling to run inside of Netlify.
"Easy" because it's the way that works for me in a repeatable fashion.
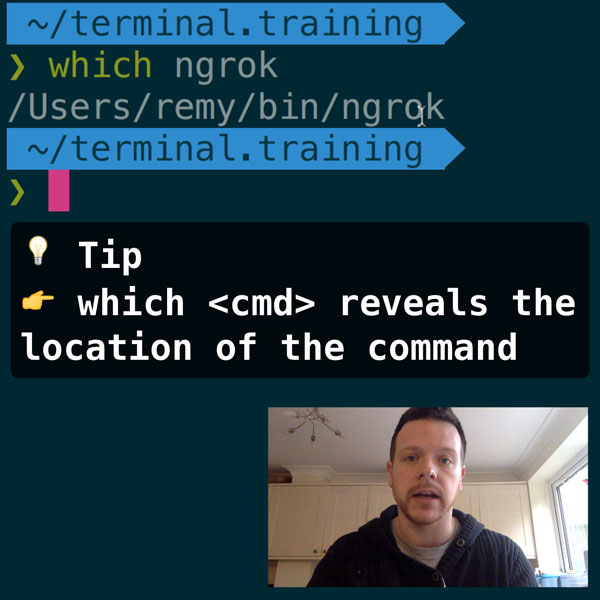
READER DISCOUNTSave $50 on terminal.training
I've published 38 videos for new developers, designers, UX, UI, product owners and anyone who needs to conquer the command line today.
$49 - only from this link
Why is this difficult?
Because I'm a moron, and I don't have the patience to learn how it all really works.
When I look at the download options for tools like goaccess, the installation process is actually a compilation process and it's entirely dependant on the operating system. I'm running a Mac, and again, no patience, so I don't really know (or want to know) how to cross compile.
With that out of the way, let's get on with it.
What we're going to do
The plan is:
- Download the source for the binary
- Clone Netlify's build image
- Enter the environment via docker
- Build the source from inside the build image
Grab some source
The first thing required to compile for Netlify is the source of the binary. For that the source needs to be downloaded. Most *nix like code (if open source) offers source.
If there's mention of ubuntu, I'll also gravitate towards that (though I don't think it matters if I'm compiling from source, but who really knows, eh?!).
In my particular case, I'm going to download the source code and decompress the file so it's read to be compiled. From the directions on goaccess this is just the following parts, ignoring the build directions (for now).
$ wget https://tar.goaccess.io/goaccess-1.3.tar.gz
$ tar -xzvf goaccess-1.3.tar.gz
Next we're going to access this source from inside the Netlify build image.
Create a copy of Netlify's build image
The nice folks at Netlify provide this as open source, so it's possible to download and run arbitrary code inside their build process on your own local machine. This is exactly how compilation is going to happen.
The detailed directions are on Netlify's build image repo, but slightly nicer instructions from a 2016 post. You'll also need Docker installed, though installation is all you need as copy and paste can get you the rest of the way there.
Once docker is installed, in your working directory (this can be your repo, or where ever you like - maybe a reusable location), run the following (directly copied from Netlify's blog post - sorry):
$ docker pull netlify/build:xenial # this can take a few minutes
$ git clone https://github.com/netlify/build-image
$ cd build-image
$ ./test-tools/start-image.sh <directory-with-binary-source>
Now you'll have dropped inside Netlify's build image which is the same environment that will run you code. This is useful for debugging, but in our case this is the environment that some source code will be compiled.
Inside Netlify's build image
The directory that we specified on start-image.sh (the <directory-with-binary-source>) is available in the image at /opt/repo. So we navigate into this directory, and then execute the sequence of build commands. In my case:
buildbot@1a81c740826d:~$
buildbot@1a81c740826d:~$ cd /opt/repo/
buildbot@1a81c740826d:/opt/repo$ cd goaccess-1.3
buildbot@1a81c740826d:/opt/repo/goaccess-1.3$ ./configure --enable-geoip
buildbot@1a81c740826d:/opt/repo/goaccess-1.3$ make
In my particular case, the default compile instructions wouldn't work without ncursesw dependency, but I didn't need it, so I was able to compile without a specific flag.
Once the make command has finished, the binary will have been compiled somewhere in my goaccess-1.3 directory.
The only thing left to do is to move the newly compiled binary into my own repo (in my case, I'll put it in ./bin), and the artefacts to be cleaned up.